Reviewed · DUBLIN TOURS & EXPERIENCES
PicTours Dublin
Dublin looks better through a camera lens. This 90-minute PicTours Dublin photography walking tour is built around quick, repeatable tips so you leave with stronger shots and a better feel for how to photograph the city with your phone. I love that it mixes classic Dublin backdrops, like St Stephen’s Green and Grafton Street, with practical Instagram guidance tied to what you are seeing.
Two things I really like: first, the teaching is broken into short, focused stops, so you learn something at each location and then immediately try it. Second, the tour is designed for real life phone photography, including iPhone feature use that multiple guides are praised for explaining in plain terms.
One consideration: it is a walking tour with several stops, so if you want a slow, sit-down style sightseeing day, you might find the pace a bit brisk.
In This Review
- Key highlights that make PicTours Dublin click
- Why a 90-minute Dublin photo walk hits the sweet spot
- St Stephen’s Green: beginner-friendly nature and wildlife shots
- St Stephen’s Green Shopping Centre: indoor light, architecture, and quick Instagram wins
- Grafton Street: street photography, lighting timing, and busker texture
- Anne Street South and the umbrella installation: contrast, color, and posting time
- Two secret Dublin locations: how the surprises work and what to ask for
- Guides like Anna, Diana, Shauna, David, and Anu, and why small coaching beats trial-and-error
- What you can expect to bring home, and how to use it after your walk
- Price and value: when a free-looking tour beats expensive photo workshops
- Who should book this PicTours Dublin photo walking tour
- Should you book PicTours Dublin?
- FAQ
- How long is the PicTours Dublin photography walking tour?
- What is the meeting point for the tour?
- Where does the tour end?
- What is included in the tour price?
- Is camera equipment provided?
- What language is the tour offered in?
- What is the group size?
- Can I get a full refund if I cancel?
Key highlights that make PicTours Dublin click
- Short stop, instant practice at St Stephen’s Green, Grafton Street, and the umbrella installation
- Instagram tips that match the scene, from lighting and filters to hashtag strategy
- Surprise photo locations that change daily based on weather and interests
- Guides who coach phones calmly, including iPhone help that works even if you are not techy
- Small group size (max 15), with opportunities for extra feedback on how to frame shots
Why a 90-minute Dublin photo walk hits the sweet spot
A photo tour is only useful if it changes how you shoot by the time you reach the next street. This one is paced to do that. You spend about 15 minutes at each main location, then finish with a longer block for two lesser-seen surprises.
That structure matters because Dublin has lots of different lighting conditions in a short span. You start with greenery and birds at St Stephen’s Green, then move indoors for architectural details, then end up on the busiest street for street photography, buskers, and quick timing. By the time you reach the umbrella art installation on Anne Street South, you already know how to think about light and color instead of just pointing and tapping.
Also, the group size caps at 15 travelers, which is big enough to feel social but small enough for the guide to keep an eye on framing. Guides such as Anna, Diana, Shauna, and David are repeatedly described as patient and helpful when people mess up settings or compositions.
St Stephen’s Green: beginner-friendly nature and wildlife shots
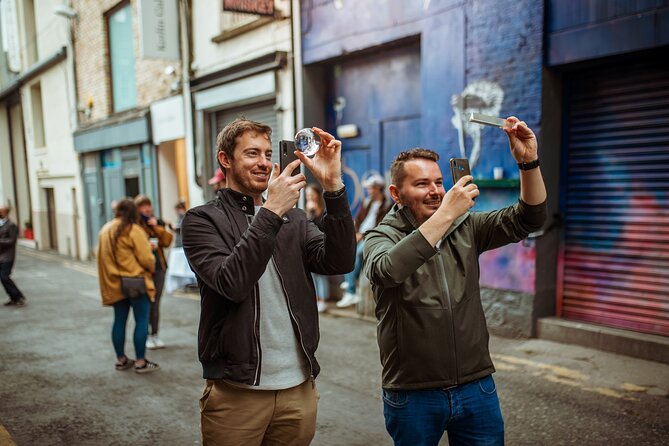
Your tour starts at the Fusiliers’ Arch area at St Stephen’s Green, with the first practice moment aimed at nature and wildlife. This is a smart opener. Parks are where beginners can learn the basics without the pressure of moving crowds.
Here is what you can expect from this first stop:
- A beginner technique lesson focused on how to get a good shot in a park setting
- Guidance that helps you slow down and look for the subject, not just the scenery
- A chance to experiment before you move onto denser streets
The real value is mental. If you learn one simple rule for composition and focus early, you will reuse it later for everything from a landmark facade to a person holding a busker instrument. Several people in the feedback talk about leaving with more confidence using features on phones they had never used before, and this sort of gentle start is why that works.
Tip for you: wear comfortable shoes and take a moment before the first photo lesson to clean your lens or camera window. Park light plus damp air can make smudges show up fast.
Also keeping time in Dublin

St Stephen’s Green Shopping Centre: indoor light, architecture, and quick Instagram wins
Next you go indoors to the St. Stephen’s Green Shopping Centre. This stop is all about handling tougher conditions: reflections, mixed lighting, and tricky angles in a corridor or atrium.
Why this matters is simple. If you only learn to shoot outdoors, you lose half of Dublin by the time your day turns gray or you need shelter. Indoors is where you practice exposure and contrast, even if you are using a phone.
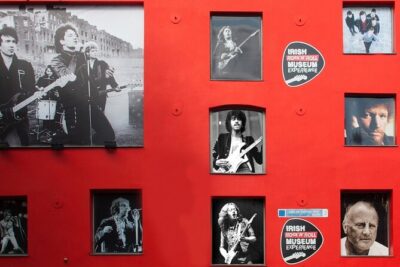
The centre also brings a history angle, tied to U2’s early gigs and its past as a trading hall. The point is not to make you a museum docent. It is to give context so the photos feel like Dublin, not just “a shopping mall.”
What the guide teaches here includes:
- How to capture the best picture of interior design and architectural details
- Your first Instagram tip for the indoor look
Practical caution: indoor lighting can trick your phone into over-bright highlights. When the guide shows you settings or shooting modes, take notes in your head, not on paper. You want the next stop to feel natural.
Grafton Street: street photography, lighting timing, and busker texture
Grafton Street is Dublin’s famous walk-and-watch corridor. This stop turns you from a “scenery shooter” into a “scene editor.”
You will focus on street photography, specifically how to maximize lighting so your photos do not come out flat. You also get tips that connect to what is happening around you: buskers are described as a constant here, day and night. That means the street is full of motion and candid moments, which is great for phone photography if you know how to react quickly.
This is also where the tour gets very Instagram-focused:
- Filters and how they change the mood of your shot
- Hashtag strategy aimed at helping people discover your photos through Instagram’s discovery system
For your photography, busker areas are a gift and a trap. The gift is subject matter, the trap is speed. If you wait until the perfect moment, you miss the moment. The guide’s job is to help you find repeatable ways to capture what you see.
One more practical detail: if you are traveling with kids, this is usually the easiest stop to keep energy up because there is always something to look at. In the feedback, multiple families describe the tour as fun and encouraging for children.
Next tune called in Dublin:
- Dublin to Cliffs of Moher, Burren, Wild Atlantic Way, Galway Tour
★ 5.0 · 12,924 reviews - Dublin to Belfast Black Cab, Dunluce Castle and Giant’s Causeway
★ 5.0 · 7,954 reviews - Kilkenny, Wicklow Mountains & Glendalough Day Tour from Dublin
★ 5.0 · 7,897 reviews - From Dublin: Wicklow Mountains, Glendalough & Kilkenny Tour
★ 4.8 · 6,235 reviews
Anne Street South and the umbrella installation: contrast, color, and posting time
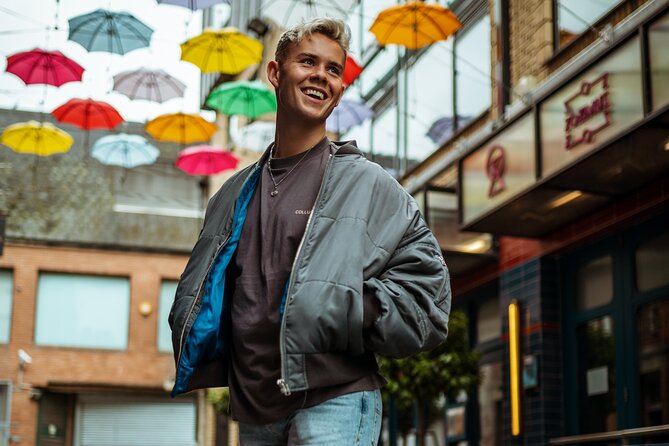
Anne Street South is where you switch from “catching scenes” to “making a clean, punchy image.” The focal point is a famous art installation featuring umbrellas, which naturally gives you bold color and strong visual shapes.
This stop teaches:
- Contrast techniques to help your subject pop from the background
- How to maximize color so your images look strong, not washed out
- How to use available light, rather than waiting for perfect weather
- Posting-time tips for Instagram, focused on when your friends and followers are more likely to see it
This is a valuable shift because contrast and color are the two things that most phone photos struggle with unless you know what to change. The umbrella setup gives you an instant playground for those lessons, so you can test how small adjustments change the final mood.
In the feedback, guides are praised for being encouraging when people try a technique and get it wrong at first. That matters most at a color-heavy installation, because phones can over-saturate highlights fast. You are not just taking photos here, you are learning how to control the look.
Two secret Dublin locations: how the surprises work and what to ask for
The last portion is labeled as two secret locations. The key detail is that these spots change daily due to weather, new art installations, and what the guide thinks fits the group.
That flexibility is not random, and it is why the stop is worth paying attention to. Dublin changes by the hour. If the light is right for a particular street corner or public artwork, you get it. If the weather turns, you are not stuck with the wrong location. The tour is designed to keep the photo opportunities fresh.
You also can influence it. You are told to tell your guide if you have preferences for specific areas or photography themes you want to learn. That is a big deal for value, because “secret locations” can either mean you feel surprised in a good way, or you feel disappointed because you wanted something else.
What you can do before the tour finishes:
- Share one focus area you care about most, like street portraits, architectural details, or something more playful
- Mention if you want more green, more city texture, or more color work
If you like taking photos that look like Dublin on your camera roll at home, the surprise stops are where you can end up with shots you would not find on your own.
Guides like Anna, Diana, Shauna, David, and Anu, and why small coaching beats trial-and-error
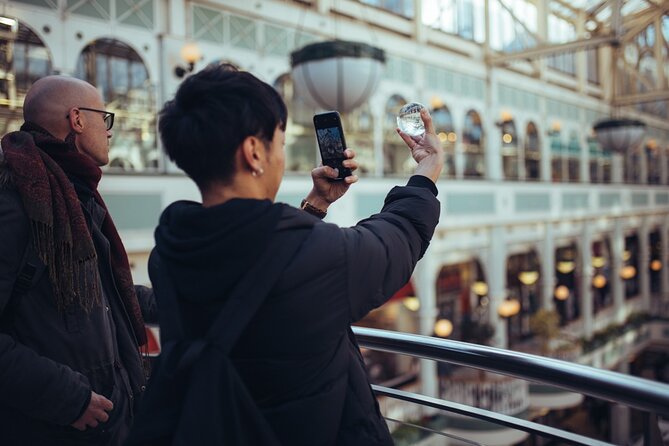
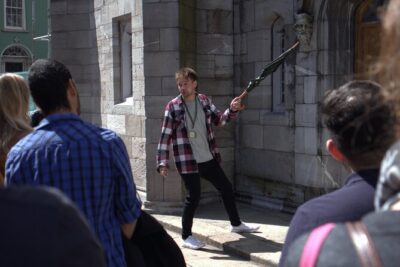
The heart of this tour is the guide coaching. In the feedback, several guide names show up with consistently positive notes. Anna and Diana are praised for making people feel at ease while teaching history alongside photography tips. Shauna earns credit for breaking down techniques clearly even for people who are not tech savvy, and for encouragement when someone makes mistakes. David is described as giving practical, helpful tips plus historical context, and one person specifically mentions receiving a collection of photos the guide took. Anu and Anupama are praised for patience, including strong 1:1 feedback when the group is small.
What you should take from all that, for your own planning, is this: you do not need to be a photographer to benefit. You need to be willing to try. The guides’ teaching style seems built for real tourists who want better photos without feeling judged.
And because the tour runs for about 90 minutes with up to 15 people, you are not just listening to a lecture. You are practicing with guidance while walking between scenes.
What you can expect to bring home, and how to use it after your walk
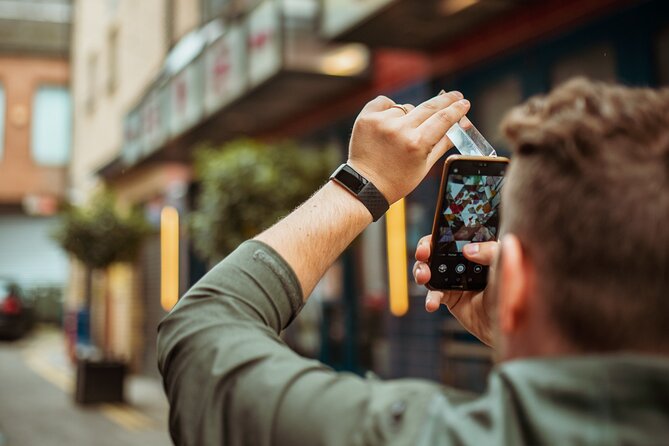
The tour is positioned around getting professional-style photos of your Dublin experience, and the included structure supports that idea. You are taught photo techniques and also Instagram skills, which means you are not just collecting images, you are learning how to present them.
One specific bonus shows up in the feedback: you can receive a collection of photos taken by the guide, in addition to the photos you capture yourself. That can be especially useful if:
- You are traveling with family and want pictures where people look natural, not like they are thinking too hard
- You want at least some shots that you know were made with strong framing and settings
For you, the best post-tour move is to revisit what you learned immediately. Try one of the guide tips on your best photo from each stop. Then post just two to start. The tour includes posting-time tips, and a calmer posting rhythm usually works better than dumping your entire camera roll at once.
Price and value: when a free-looking tour beats expensive photo workshops
In the details provided, the price shows as $0.00 per person. Even if you treat that as a promo price, it is still worth judging the value.
Here is what you are actually getting:
- 5 to 7 spots over roughly 90 minutes
- Photography technique coaching
- Instagram skills teaching, tied to the scenes you are photographing
- Stories about Dublin that help your photos feel placed, not random
- The chance to get guide-taken images afterward (as described in the feedback)
The biggest value driver is the time you save. If you try to learn all this on your own in a week, you might get good photos by luck, but you will not get the repeatable rules. This tour forces practice in multiple lighting situations, which speeds up learning.
Only one caution: camera equipment is not included. If you are traveling with a phone only, you are fine. If you are bringing a camera, you might still benefit, but the tour is clearly designed around phone-friendly coaching.
Who should book this PicTours Dublin photo walking tour
This works best for you if:
- You want your Dublin photos to look more intentional, not just well-lit
- You use an iPhone or smartphone and want help with features you might ignore at home
- You care about street scenes, public art, and landmark backdrops
- You like learning from a local guide who connects stories to what you shoot
It may not be ideal if:
- You want a slow, no-pressure sightseeing day with minimal walking
- You already know advanced camera settings and expect a highly technical workshop
For couples, friends, and families, this hits a nice balance. In the feedback, people describe the tour as a great way to start a trip, and also as something kids can enjoy without turning it into a long lecture.
Should you book PicTours Dublin?
If you want a practical Dublin photography upgrade in about 90 minutes, I think it is an easy yes. The stop-by-stop format, the phone-friendly coaching, and the blend of landmarks plus two surprise locations give you a strong shot at getting both better photos and better confidence.
Book it if your goal is Instagram-ready images and a fun, guided walk that teaches you what to do next. Skip it only if you hate walking or you want equipment provided. If you are unsure, look for a time that matches your energy, show up at Fusiliers’ Arch near St Stephen’s Green, and bring a phone that you are ready to learn with.
FAQ
How long is the PicTours Dublin photography walking tour?
It runs for about 1 hour 30 minutes.
What is the meeting point for the tour?
The tour starts at Fusiliers’ Arch, St Stephen’s Green, Dublin, D02 HX65, Ireland.
Where does the tour end?
Each tour ends at a different point in Dublin.
What is included in the tour price?
The tour includes 5-7 spots over about 90 minutes, photography techniques, Instagram skills, and stories about Dublin.
Is camera equipment provided?
No. Camera equipment is not included.
What language is the tour offered in?
The tour is offered in English.
What is the group size?
The tour has a maximum of 15 travelers.
Can I get a full refund if I cancel?
Yes, there is free cancellation, and you can cancel up to 24 hours in advance for a full refund.
Latest to join the session in Dublin




Dublin Tours & Experiences, compared.
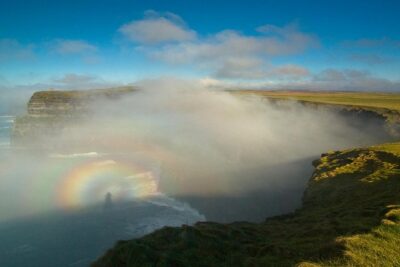
Dublin to Cliffs of Moher, including Wild Atlantic Way and Galway
Read our review →
Cliffs of Moher, Burren & Galway City Day Tour
Read our review →
Dublin to Cliffs of Moher, Burren, Wild Atlantic Way, Galway Tour
Read our review →
Kilkenny, Wicklow Mountains & Glendalough Day Tour from Dublin
Read our review →
Wicklow Mountains, Glendalough & Kilkenny Tour
Read our review →