
Reviewed · DINGLE & SLEA HEAD COASTAL DRIVES
Slea Head Photo & Sightseeing Tour
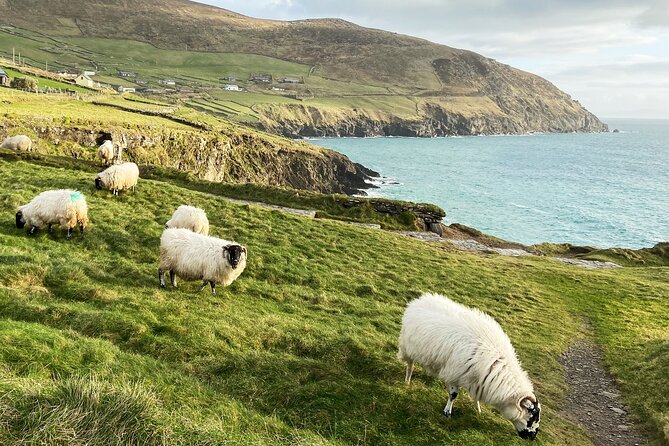
A coastline drive that turns into a photo walk. The Slea Head Photo & Sightseeing Tour from Dingle is built for short stops with big views, plus a guide who helps you frame the scene. I especially like the way Slea Head points you toward photo-ready ocean overlooks and beaches.
Two things I really like: it’s a small group (max 6), so you get breathing room at stops, and you get real photography hints plus help taking photos of you and your group.
The main tradeoff is that it can be weather dependent, and the pace is scenic and photo-focused, so it is not a history lecture tour.
In This Review
- Key things to know before you go
- Why Slea Head Drive feels like a road trip with built-in photo stops
- Price and what you’re really buying for $114.14
- Getting started in Dingle: meeting point and pickup details that matter
- Stop 1: Ventry to Slea Head Drive for ocean views right away
- Stop 2: Slea Head Cross and the ocean-side photo stroll
- Stop 3: Coumeenoole Beach when the tide is in your favor
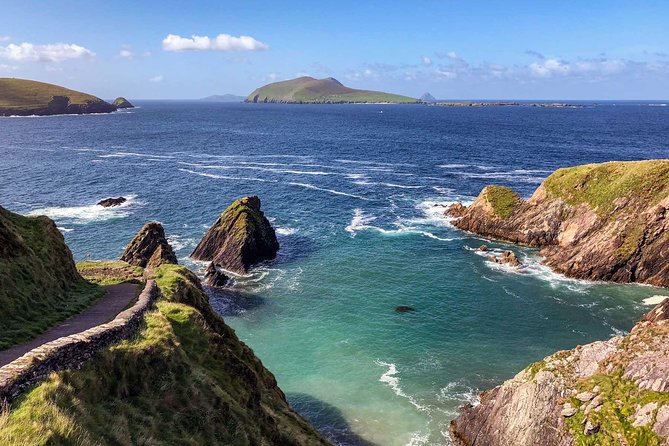
- Stop 4: Dun Chaoin Pier and the cliff path to the old departure point
- Stop 5: Dunquin rocky beach and the Blasket Islands in the background
- Stop 6: Clogher Strand, storm beach potential, and the Star Wars filming angle
- Stop 7: Gallarus Oratory, an 8th-century stone roof you can actually see
- Stop 8: Kilmalkedar Church ruins, Romanesque details, ogham script, and St Brendan’s House nearby
- Stop 9: Back to Dingle, where the afternoon often feels longer than the clock
- What the guide does that most coast tours miss: photo help in real time
- Best way to prep: make the most of short stops without rushing
- Who this tour suits best, and who might prefer a different format
- Should you book this Slea Head Photo & Sightseeing Tour?
- FAQ
- How long is the Slea Head Photo & Sightseeing Tour?
- What does the tour cost per person?
- Where do I meet, and is pickup available?
- How many people are in the group?
- What is included in the tour?
- Are admission fees included for the stops?
- Are snacks and drinks included?
- What language is the tour offered in?
- What happens if the weather is poor, or if I need to cancel?
Key things to know before you go
- Max 6-person group means less crowd pressure at the viewpoints.
- Photo tips for people and scenery plus your guide will take group shots with your phones or cameras.
- Stops are short but plentiful, from Slea Head Cross to Clogher Strand and into inland ruins.
- You’ll get optional walking at several spots, including a steep path down toward Dunquin Pier.
- No snacks included, so plan a meal buffer before and after.
- Admission is free at the stops listed, so you are mostly paying for the guide and transportation.
Why Slea Head Drive feels like a road trip with built-in photo stops
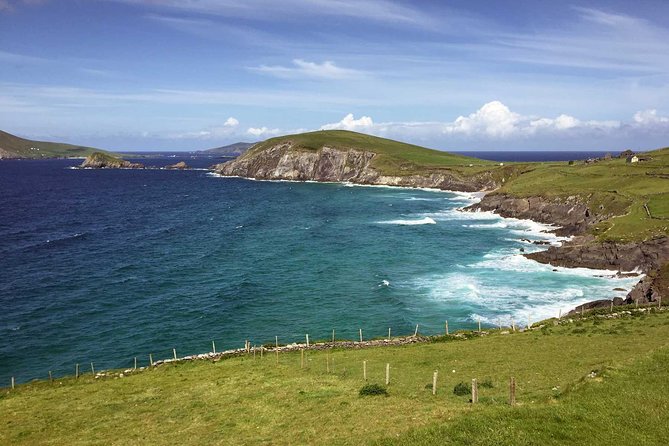
The magic of this tour is how it turns one famous stretch of the Dingle Peninsula into a series of quick, satisfying moments. You cruise the Slea Head Drive from Dingle, then hop out at viewpoints where you can actually linger long enough to compose a shot, not just snap and rush.
A lot of tours treat photos like a bonus. Here, photography is part of the format. The guide offers tips while you’re traveling and at the stops, and he’s happy to take photos of you and your group so you’re not stuck photographing everybody with a stranger’s camera angle.
Price and what you’re really buying for $114.14
At about $114.14 per person for a 3 hours 30 minutes tour, you are paying for three things: a guided route, private transportation, and photo help at the best spots. For me, the value comes from the mix of quick coastal stops and a couple of inland heritage sites, all packed into half a day.
You also avoid the hassle of driving and parking along the tight roads yourself. Even better, the stops listed all show admission as free, so you are not stacking extra ticket costs on top of the tour price.
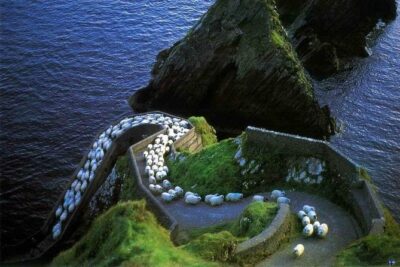
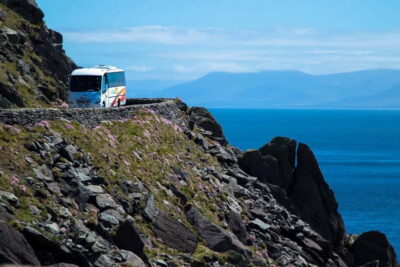
More hairpins around Slea Head:
Getting started in Dingle: meeting point and pickup details that matter
You meet at the Dingle Tourist Information Centre at The Quay, Farrannakilla, Dingle, Co. Kerry (V92 HHTO). Pickup is available at the Fungi Dolphin Statue beside the tourist office, which is a lifesaver if you arrive early or you are juggling bags.
This tour ends back at the meeting point, so you don’t have to plan a second transport piece or worry about being dropped somewhere inconvenient. It’s also offered in English, so you can follow the guidance and photo suggestions without guessing.
Stop 1: Ventry to Slea Head Drive for ocean views right away
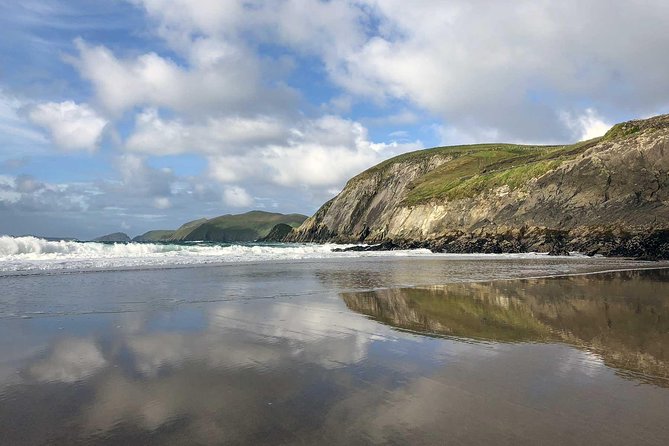
After meeting in Dingle, the tour heads along the Slea Head Drive, with scenic countryside passing along the way. You also get a glimpse of the deep-water natural harbour at Ventry as you approach the first major viewpoint, which is a nice early reminder that this coast is not just cliffs and postcard fog.
The Slea Head Drive stop gives you about 20 minutes. That’s enough time to grab a first wide shot, check the horizon, and decide where you want to move for tighter framing. The only caution is that this area can be windy and changeable, so keep your phone secure and dress for the weather you actually feel.
Also keeping time in Dingle
- Cork Instagram Photography Walking Tour
★ 5.0 · 54 reviews - Dublin: Personal Photographer – Travel Photography Experience
★ 4.5 · 37 reviews - Dublin: Private Photo Experience
★ 5.0 · 26 reviews - Luxury Photography Day Tour on Ring of Kerry and Skellig Ring – Fully Guided and Chauffeured
★ 5.0 · 20 reviews
Stop 2: Slea Head Cross and the ocean-side photo stroll
Next comes the Cross at Slea Head. The main draw here is the combination of classic cliffside scenery and straightforward access to viewpoints where you can stand, look, and photograph without a long trek.
You also have the option to stroll along the winding Oceanside road for a few minutes. That small walking choice is a big plus if you want variety in angles, because it helps you avoid taking every photo from the exact same spot.
Stop 3: Coumeenoole Beach when the tide is in your favor
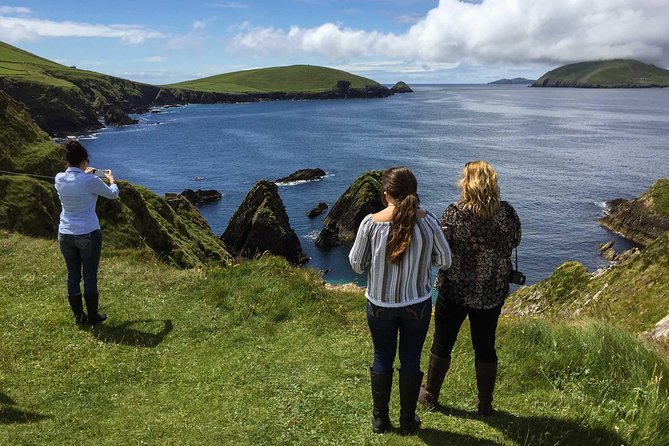
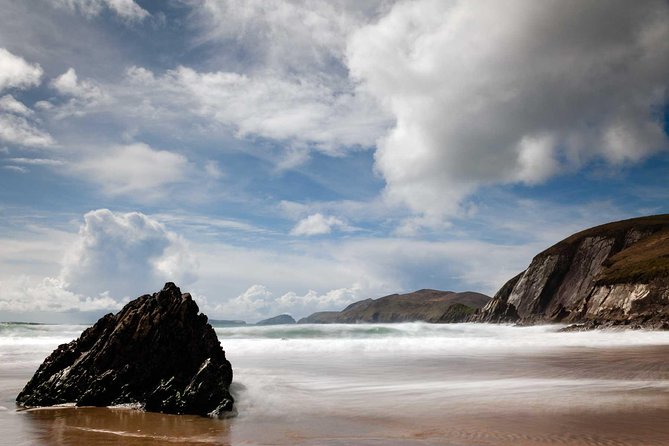
Coumeenoole Strand is one of the best moments on a coast-hopping tour because it shifts from cliff viewpoints to sand and shoreline textures. You’ll have around 20 minutes here, and it’s a great place to do a slower photo routine: foreground texture near the waterline, the coastline stretching behind it, and a horizon that works with your framing.
The beach is described as especially good for photography and for simply paddling along the edge. The note about low tide matters. If you’re there when the tide is right, you can get stronger beach views and more shoreline to work with, plus the option of using the walkway down to the sands.
Practical thought: with beaches, time goes fast. Decide early whether you want barefoot moments or mainly photos, and plan your pace so you still make it back to the van comfortably.
Stop 4: Dun Chaoin Pier and the cliff path to the old departure point
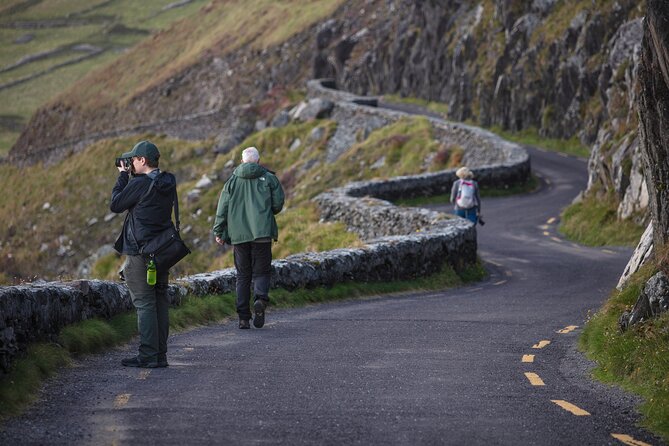
At Dun Chaoin Pier, you get an iconic scene: a twisting path down to Dunquin Pier, described as the historical departure point for settlers heading to the Great Blasket Island. Today, it’s used for tripper boats visiting the island, so it’s still tied to real local travel.
You have about 20 minutes at this stop. The tour highlights photo opportunities along the paths at the top of the cliff, with an option to walk down the steep path for lower vantage points.
This is one of the spots where you should think about footwear and comfort. The walk is optional, but if you want the best angles, you’ll likely want at least some time on the path. If you’d rather keep it steady, staying at the top viewpoints still gives strong results.
Stop 5: Dunquin rocky beach and the Blasket Islands in the background
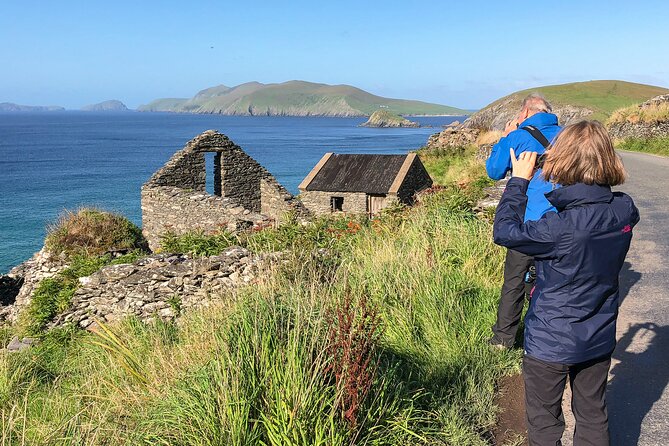
From the pier area, you head to Dunquin, following single track lanes to a rocky beach with access to a coastal path. This stop is another about 20 minutes, and it’s built for wide coast photos.
The key visual element is the view across toward the Blasket Islands in the background. That extra layer makes your photos feel deeper, not just a flat line of coast.
One consideration: rocky beaches look fantastic but can be uneven. Take your time getting set up, especially if you’re shooting from the water’s edge or stepping between vantage points on the path.
Stop 6: Clogher Strand, storm beach potential, and the Star Wars filming angle
This is a longer stretch in the route, about 45 minutes, and it’s packed with options depending on tide and conditions. You stop at Clogher Head for panoramic views of the western edge of the Dingle Peninsula. You can also look across to a filming location for Star Wars from 2016, which gives a fun pop-culture reference for your trip without turning the tour into a movie-themed detour.
A few minutes away is the storm beach at Clogher. Access depends on the tide, and the description points out a viewing platform above the beach for ocean landscapes.
There are also secluded rocky beaches and rugged coves accessible with a short drive. Translation: this isn’t one viewpoint. It’s a section of coastline with multiple ways to frame the same dramatic coastline.
If you’re a photographer, this stop is where you can slow down. If you’re not, it’s still a highlight because you get that wide-open feeling, plus the chance to see how the ocean shapes the shoreline.
Stop 7: Gallarus Oratory, an 8th-century stone roof you can actually see
After the coastal stretch, the tour shifts inland with a scenic 15-minute drive to Gallarus Oratory. This is an 8th-century stone-roofed building, and the tour gives you about 30 minutes here.
What makes this stop work is that it’s specific. Instead of a vague ruin, you’re looking at a distinct ancient structure with a roof that stands out in real-world conditions. It’s a great contrast to the coastal chaos, and it gives your trip variety without adding a long museum-style experience.
Stop 8: Kilmalkedar Church ruins, Romanesque details, ogham script, and St Brendan’s House nearby
Kilmalkedar Church brings the tour into a quieter, rural setting with strong visual details. The ruin is described as a 12th-century Romanesque church built on an earlier monastic site. You’ll also see a standing stone with a needle hole and ogham script carved down the side, plus a large cross carved from stone nearby.
There’s a small bonus too. St Brendan’s House is close by, and the tour notes excellent views of the church in the surrounding landscape.
This stop is about 20 minutes. It’s enough time to look slowly at the carved features, then step back for the wider rural view. The only caution is that you will be outside, and weather can affect how long you want to linger in one spot.
Stop 9: Back to Dingle, where the afternoon often feels longer than the clock
You’ll finish with a scenic 15-minute drive back to Dingle. Ending where you started is convenient, especially if you have dinner reservations or you want time to walk the town center afterward.
For a 3 hours 30 minutes tour, this timing creates a good rhythm. You get a lot of stops, but you still feel like you had a half-day experience, not a nonstop shuffle.
What the guide does that most coast tours miss: photo help in real time
One standout element from the guide experience is the combination of local info and practical photo guidance. The guide is described as an accomplished photographer, and that matters because it usually changes what you do at each viewpoint.
You’re not just told to take photos. You get hints for capturing nicer images of scenery and people, and you can ask for help getting the shot. He will take photos of you and your group using your phones or cameras, which is a huge deal if you want memories that actually include everyone.
This is also where the small group helps. With fewer people, you’re more likely to get a quick personal adjustment, like where to stand for better light or how to reduce distracting elements in the frame.
Best way to prep: make the most of short stops without rushing
Since the stops are typically around 20 minutes, you’ll get more out of the tour if you show up ready to move. I recommend you bring:
- Comfortable shoes with decent grip, especially for optional steep paths like the one down toward Dunquin Pier.
- A light layer, because wind along the coast is unpredictable.
- A phone or camera that’s charged, plus a quick way to clear space on your device for new photos.
- Snacks or at least a planned meal, since snacks and drinks are not included.
Also, think about your photo priorities before each stop. If you spend the full time fiddling with settings, you may miss the chance to try a couple of different angles.
Who this tour suits best, and who might prefer a different format
This Slea Head Photo & Sightseeing Tour is a strong fit if you want the Dingle Peninsula highlights without driving yourself. It’s especially good for people who care about photos and want help getting better shots of both landscapes and their group.
If you are looking for a long, deep history-focused day, you might find this too light. The structure is scenery and photo-first, with heritage stops that are quick and visually guided rather than lecture-heavy.
If your travel style is flexible and you like short walks, this works well. You’ll have options to stroll along the Oceanside road and walk down steep or rocky paths if you want those lower vantage points.
Should you book this Slea Head Photo & Sightseeing Tour?
If you want a smart, small-group way to see the Slea Head coastline, the Blasket Island view points, and two standout heritage ruins, I think this is an easy yes. The photo coaching, the chance to get group photos, and the tight route that still gives time to get out and enjoy the views make the price feel fair.
Book it if you can handle short walking segments and you’re okay with weather shaping the day. If you prefer a history deep-dive or a long on-your-own wandering schedule, you might choose a different style of tour or add extra nights in Dingle.
FAQ
How long is the Slea Head Photo & Sightseeing Tour?
It’s about 3 hours 30 minutes.
What does the tour cost per person?
The price is listed as $114.14 per person.
Where do I meet, and is pickup available?
You start at the Dingle Tourist Information Centre at The Quay in Dingle. Pickup is at the Fungi Dolphin Statue beside the tourist office, at 6 Slea Head Dr.
How many people are in the group?
The maximum group size is 6 people.
What is included in the tour?
Included features are private transportation, photography hints and tips, and your guide will take photos of you and your group using phones or cameras.
Are admission fees included for the stops?
The stop notes list admission as free at each listed location.
Are snacks and drinks included?
No. Snacks and drinks are not included.
What language is the tour offered in?
The tour is offered in English.
What happens if the weather is poor, or if I need to cancel?
The tour requires good weather. If it’s canceled due to poor weather, you’ll be offered a different date or a full refund. Cancellation is free up to 24 hours in advance for a full refund.
Latest to join the session in Dingle

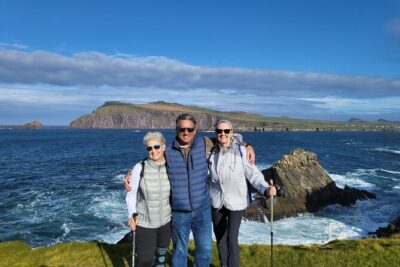
Dingle & Slea Head Coastal Drives, compared.
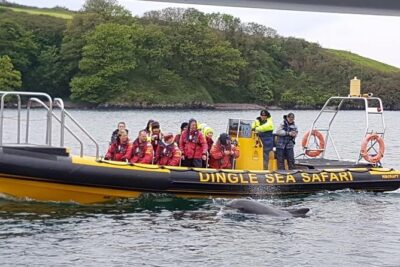
Exhilarating Rib experience – Dingle sea safari
Read our review →
Full-Day Tour of the Dingle Peninsula, Slea Head, and Inch Beach
Read our review →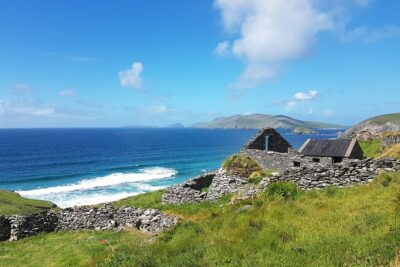
Dingle Peninsula and Slea Head Drive Group Tour
Read our review →
Browse the lists this tour appears in